

17 Dec 2014
1 Dec 2014


25 Nov 2014
Scene Design 1
WIP 1

Based on my scenery thumb-nail sketches, I made a colour WIP (work in progress) on Photoshop to get an idea of the colours and positioning. After this I started to test different brush styles that I felt would work well for this image. I ended up settling on paintbrush-style Photoshop Brushes.

I used an angled brush from 'Calligraphy Brushes' to create the first WIP, as it was only to show what colours I will be using and to show the layouts of the different parts of the scene. I also used 'Wet Media Brushes' and 'RealisticPencilBrushes' for my second WIP (below).
WIP 2

I then used various paintbrush style Photoshop Bushes to add more detail to the colours on the ground and the trees. When I was happy with this colouring, I then worked on the metal in the trenches that are holding back the earth. I'm still not completely happy on how that turned out so if I decide to use this image in my finals, I will try different brush styles to make it more realistic.
FINAL(ish)

(sorry if image doesn't load, the internet is being a poop today)
25 Oct 2014
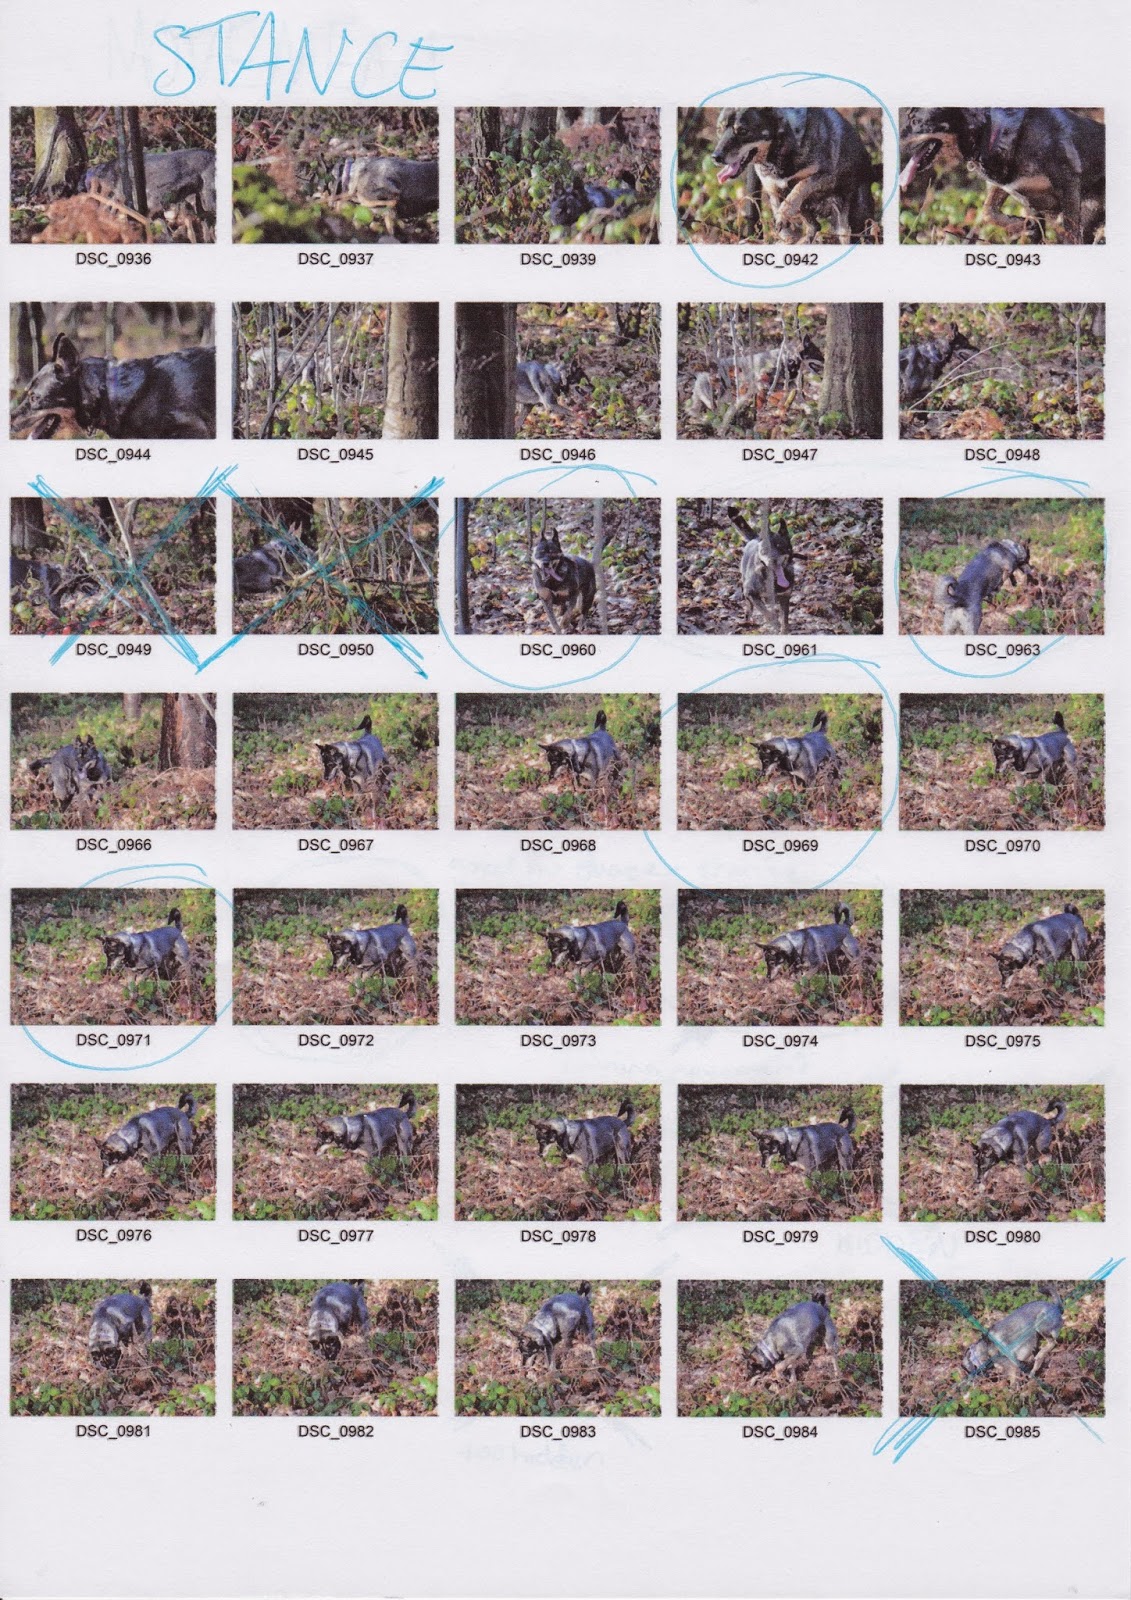
Contact Sheets


22 Oct 2014
Scamps (Others Works)


Here I have created a number of quick rough sketches of various children's books to help with research into different themes and styles that reoccur. All of the original covers and illustrations I have collected on my Similar Artefacts Pinterest board. I hand drew these in pencil and then scanned them into Photoshop to bring up the colours and make them clearer.
13 Oct 2014
Aspect to Aspect


These 4 images where what I was working from to create my initial ink drawings... I 'inked' the different tones in the images as well as the different colours that stood out. I created five different ink sheets that I then scanned onto the computer and put onto photoshop. Next I changed the levels of the scans and removed the white background from each of the different inks.


After this I individually took the layers and started to add them together and changing the colours... I did this with all the layers and images, to create the finished pieces below.


11 Oct 2014
9 Oct 2014
My Top Trump Card

This is my personal Top Trump card, I made it using the template but changed the details to suite me. I created the art for the card before hand but I changed the original text on the sign to something more suitable for the work. FACT: This card actually did have 56 spelling mistakes throughout it, the extra 0.37point2 is a silly reference to a pair of YouTubers.
8 Oct 2014
Adobe Top Trump Cards
.jpg)
.jpg)
.jpg)
As an addition to my personal Top Trump Card, I also created three other cards for the Adobe Programs I use the most in Graphics - Photoshop, InDesign and Illustrator. The images I used for the cards are the app/shortcut images with a darker version of the main colour used but the program. i.e.- Photoshop = Blue, InDesign = Pink, Illustrator = Orange.
16 Jun 2014


Subscribe to:
Comments (Atom)